 Shoupapp
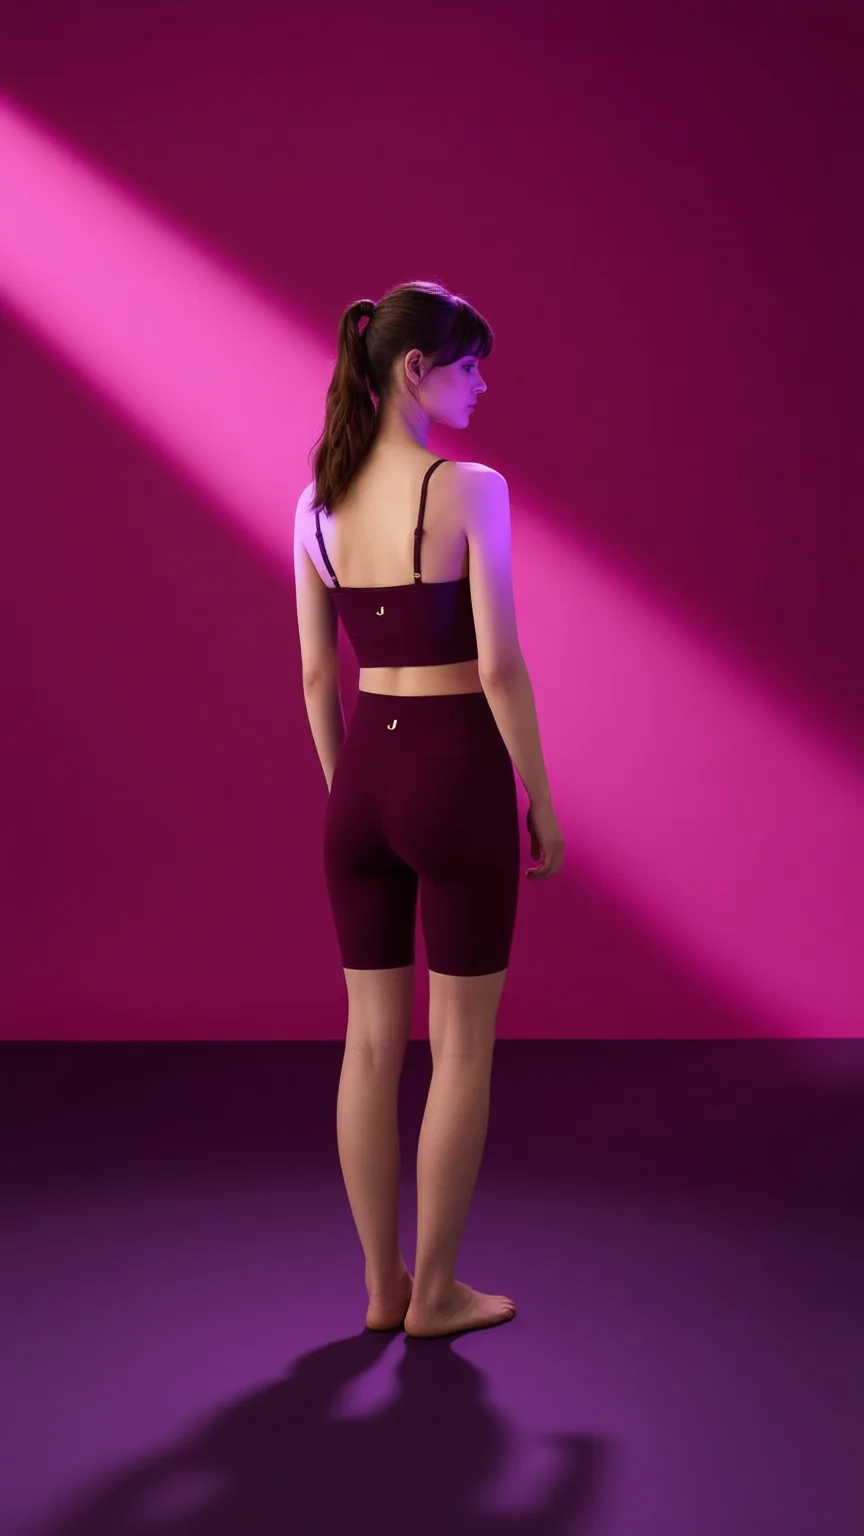
An AI photoshoot starts with one plain photo and ends with a scene that looks like it was lit and shot on a set. For years the only way to get there without a new shoot was retouching by hand: cut the model out, build a background, repaint the light and add a shadow by hand. This article shows what the same job looks like when the scene is generated instead. The source is a catalog photo of a model in a maroon activewear set on white. The result is a colored studio set with a beam of light across the wall.


What this scene would take by hand
It helps to list the work, because each item is a separate skill.
- Cut the model out, including the loose strands of the ponytail and the thin straps of the top.
- Build the set: a wall and a floor in matching colors, with a gradient that looks like paint under light, not a flat fill.
- Add the beam so it crosses the wall at a believable angle and fades at its edges.
- Relight the model, because skin lit by white studio light looks pasted onto a magenta set. Her shoulders and arm need to pick up the color of the room.
- Paint the floor shadow in the direction the beam dictates, soft at the far end and dense at the feet.
- Extend the figure. The catalog photo stops at the thigh. A full length scene needs legs and feet that were never photographed.
A skilled retoucher can do all six. Most stores do not have one for every product, and that is why so many catalogs stay on white.
What the generated scene got right
The scene was made with an AI product photo background generator from a preset, with no prompt and no layers. Looking at the result the way a retoucher would:
- The light agrees with itself. The beam comes from the upper left, and the model's shadow falls to the lower right along the same line.
- The skin belongs in the room. There is a pink rim of light on her shoulder and arm, which is what a colored set does to a real person.
- The hair is clean. The ponytail keeps its loose strands, with no white halo from the old background.
- The product is still the product. The cut of the top, the straps and the high waist of the shorts match the catalog photo.


The two small gold logos, one on the top and one on the waistband, are both still there. Small marks are usually the first thing to disappear, so this is worth checking on your own products too. The reasons logos survive or break are covered in AI product photos that keep your logo intact.
What was invented, and how to check it
The catalog photo ends at mid thigh. The scene shows the model full length, standing barefoot. Everything below the hem of the shorts was generated.
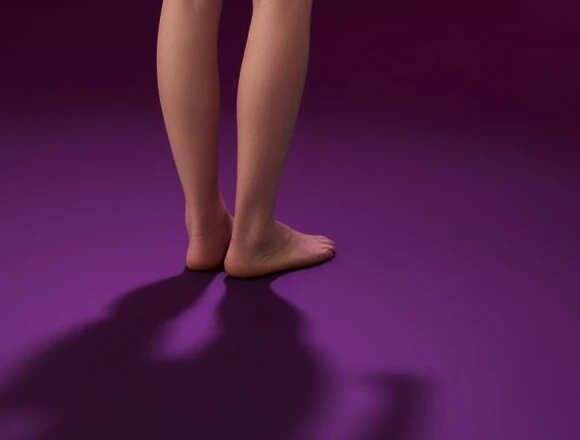
In this result the toes are soft and not clearly separated. At story size nobody will notice, but the image would not survive a close crop.
For a campaign image that is acceptable, as long as you look at it properly. Check that the proportions of the legs match the rest of the body, that the feet have the right number of toes, and that the shadow starts exactly where the feet touch the floor. If you sell the shoes or the socks as well, do not let a generated scene decide what is on the model's feet. Use a photo that shows them.
Color needs a look too. Under magenta light the maroon fabric reads darker and more purple than on white. That is physically correct for the set, and it is the reason the white catalog photo stays the main image on the product page.
Studio set or location scene?
A colored studio set is a different choice from a beach or a street. It is the better one when:
- you want a whole collection to look like one shoot, because the same set can be repeated for every product;
- the brand has a color, and the set can carry it;
- the product is the only subject, with nothing in the background to compete with it.
Location scenes are better for showing how and where a product is used. Both start from the same plain photo. The location approach is covered in lifestyle product photos without a photoshoot, and the checks that keep a scene believable are in realistic AI fashion photos.
From one photo to a set of images
- Start with the sharpest catalog photo you have, with the whole product visible.
- Generate the scene in the format you need, such as 9:16 for stories or 1:1 for a feed.
- Review it against the original: product details, logos, color and anything that was added.
- Use the scene in ads, social posts and banners. An AI product banner maker adds the headline and the offer.
- Keep the white photo, or a clean cutout from the bulk background remover, as the main listing image.
You do not need separate software for small corrections either. The online photo editor for ecommerce is included for crops, text and touch-ups. Originals are never overwritten, costs are on the pricing page and every tool is on the products page. The best test is your own plain photos: see it on your catalog.
AI photoshoot questions
Do I need retouching skills to make a scene like this?
No. The scene is generated from a preset. What you do need is a careful eye when you review the result.
Will the scene change my product?
The photographed parts stay very close to the original. Parts that were not in the photo, such as the legs here, are generated and must be checked.
Can every product in a collection get the same set?
Yes. Using the same preset across a collection is what makes it look like one shoot.