 Shoupapp
The first image on a listing shows the product. The images after it have a different job: explaining it. Product infographics put features, dimensions, materials or what is in the box into a picture a shopper can read at a glance, usually on a phone. This guide covers the marketplace rules to check first, the five infographics most listings need, how to make them readable on a small screen, and how to build them once as a template for a whole range.
Start with the main image rules
Marketplaces treat the first image differently from the rest. Amazon's product image requirements, for example, require the main image to be the product on a pure white background, without added text, logos or graphics. Infographics belong in the additional images. Every marketplace publishes its own rules, so check them before you design anything.
The five infographics most listings need
| Infographic | Question it answers | What goes on it |
|---|---|---|
| Key features | Why this one? | Three or four benefits, each with an icon |
| Dimensions | Will it fit? | Measurement lines, and a familiar object for scale |
| Materials and details | Is it well made? | Close-ups of fabric, finish or parts, with labels |
| How to use it | Is it easy? | Two or three numbered steps |
| What is in the box | What do I get? | Every item laid out and named |
If you only make one, make the dimensions image. "Will it fit?" is one of the most common questions shoppers have, and a clear answer in a picture can prevent a return.
One message per image
An infographic that tries to say everything says nothing. Give each image one job, one headline and a handful of supporting points. A shopper swiping through a gallery should understand each image in about the time it takes to swipe.
The phone test
Most shoppers see listing images on a phone, where each image is only a few centimetres wide. Before you finish an infographic, view it at phone size, on a phone or by shrinking it to the width of a small screen, and check:
- Can you read every word without zooming?
- Is the product still the largest thing in the image?
- Do the icons still read as what they mean?
- Is there enough contrast between the text and what is behind it?
If anything fails, cut words before you shrink the type.
Design rules that hold up
- Short text: a few words per point. Shoppers scan.
- Large type and high contrast: dark text on light areas, light text on dark ones.
- One icon style across the whole set.
- The product stays the hero: text and icons sit around it, not over it.
- One font family and one color palette across all images of a listing, and across the range.
Claims to leave out
Marketplaces police what infographics may say. As a rule, leave out anything that imitates the marketplace or cannot be backed up: marketplace badges you did not earn, review stars, competitor logos, and claims you cannot prove, such as "best on the market". Check the marketplace's own policy before publishing.
Build once, reuse across the range
Most products in a range need the same five infographics. Design the layouts once, with the text areas, icons and product position in place. For each variant, swap the product photo and edit the words. The whole range stays consistent, and a new listing becomes an editing job rather than a design job.
If you sell in several countries, keep the text in separate layers so each marketplace gets the infographic in its own language, with measurements in the units it uses.
Start from a clean product photo
An infographic is built around the product, so the product needs to be clean and cut out. If your photos have backgrounds, remove them first. A product with a soft shadow sits more naturally on an infographic than a flat cut-out; see how to add shadow to product photos. For the materials image, a sharp close-up matters; upscale small photos before using them.
Designing the set in Shoupapp
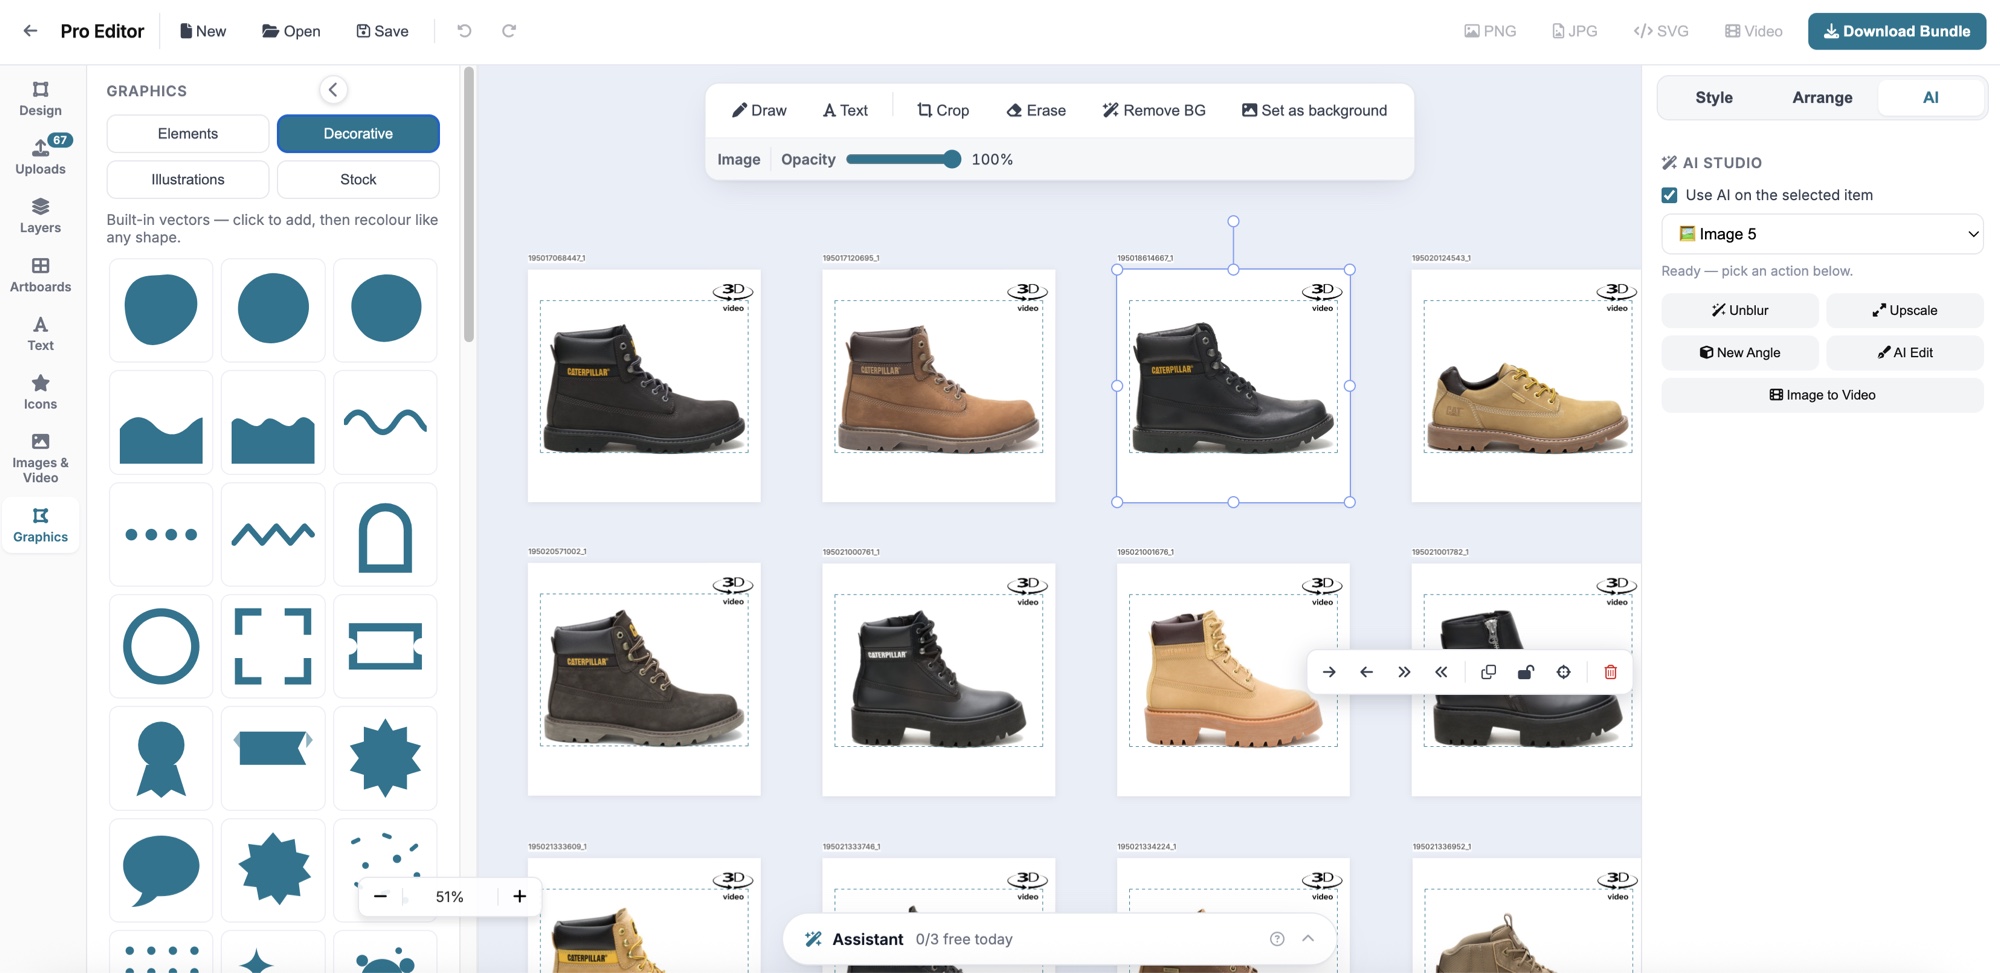
Shoupapp's photo editor runs in your browser with your product library built in, so cut-outs, shadows and scenes you made in Shoupapp are one click away, with no downloading and re-uploading. A project holds several artboards, so the five infographics of a listing sit side by side. You add text, icons, vector shapes and free stock photos, with layers and alignment, and export as PNG, JPG or SVG. The same product shadows as the background remover are available for one-off designs.
Opening the editor and designing is free with any account. On a paid plan, AI tools such as background removal, upscaling and editing with a sentence work inside the canvas and use credits.
Checklist before upload
- The main image is the product alone, on the background the marketplace requires.
- Each additional image has one clear message.
- Every measurement and claim is correct and matches the product.
- The text is readable at phone size.
- All images share one style.
- File size and dimensions meet the marketplace's requirements.
Writing infographic copy
- Lead with the benefit, then the feature. "Keeps drinks cold all day" before "double-wall steel".
- Use numbers with units. "45 cm tall" rather than "compact".
- Use the words shoppers use in reviews and questions, not internal product names.
- Keep claims checkable. Only state what the product and its documentation can support.
The order of the gallery
The additional images work best as a sequence that answers questions in the order shoppers ask them. A common order: the main image, then key features, then dimensions, then a lifestyle or in-use image, then materials and details, then what is in the box. Put the image that answers your product's most-asked question as early as possible.
White background or lifestyle background?
Infographics on white keep the product crisp and the text easy to read. Infographics over a lifestyle photo show context but make text harder to read. A good compromise is a lifestyle photo with a plain area, such as a wall or a tabletop, where the text sits.
Infographic questions
What size should an infographic be?
The same size and shape as the listing's other images, so the gallery displays consistently. Square is the safe choice on most marketplaces.
Is the photo editor free?
Opening it and designing is free with any account. AI actions inside it use credits on a paid plan.
Can I reuse a layout for another product?
Yes. Duplicate the project, swap the product photo and edit the text.