 Shoupapp
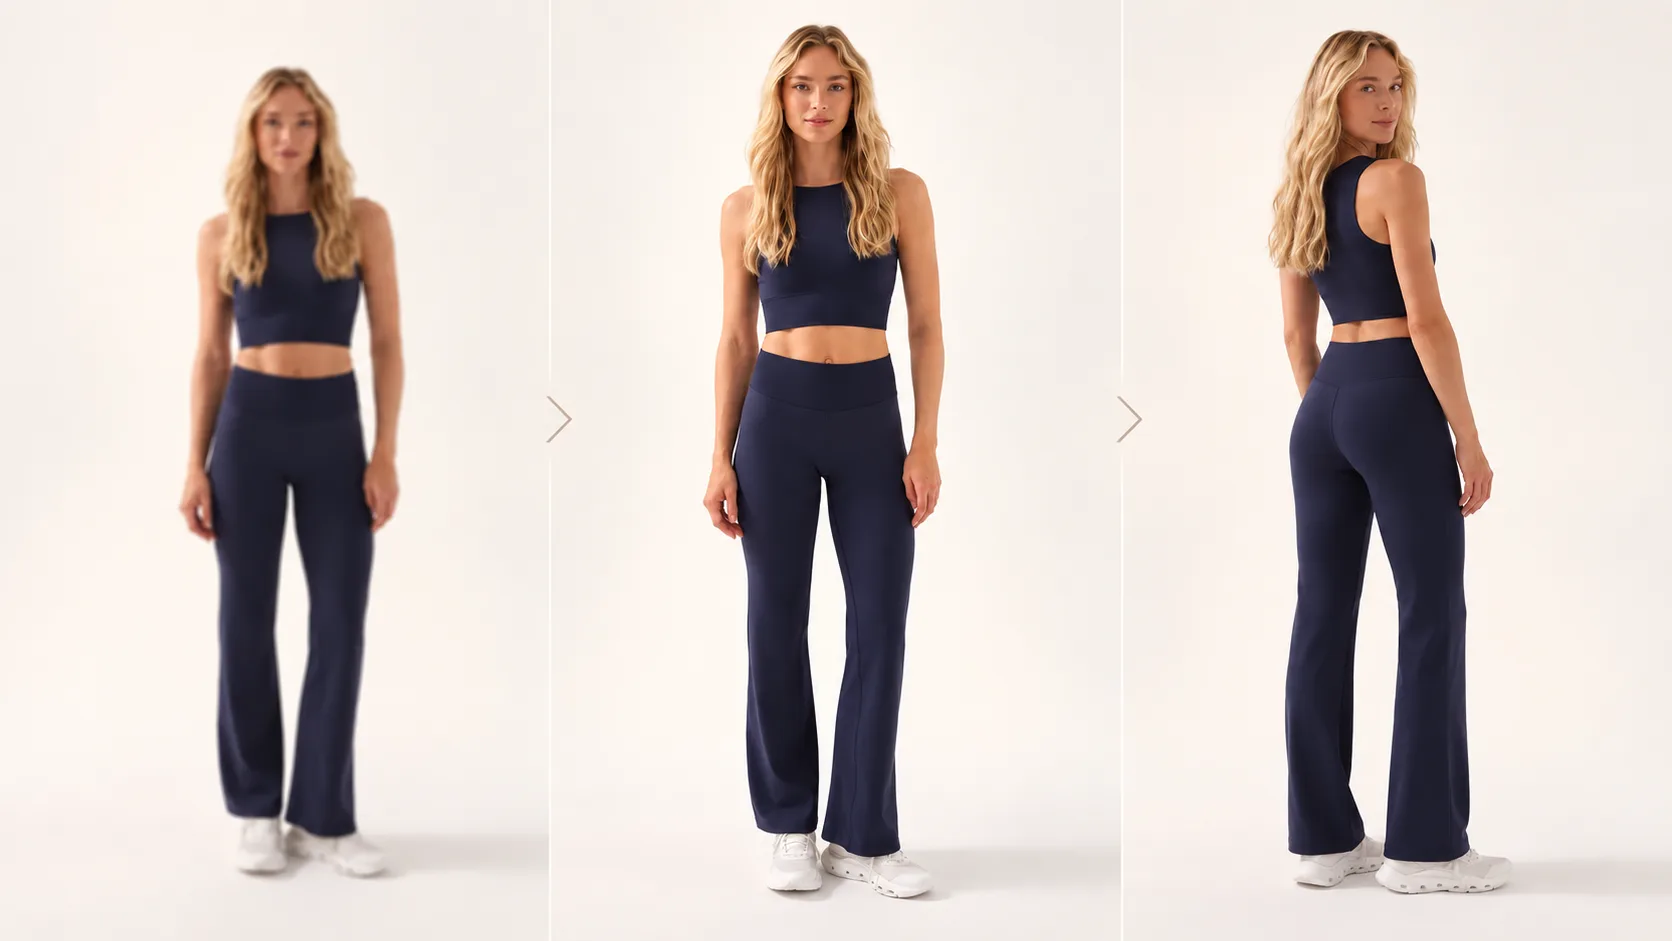
Low-resolution product photos are rarely just "low resolution". A supplier image might be small but sharp, large but blurry, heavily compressed, missing the back view, or fine apart from a price sticker. Each of those needs a different fix, and applying the wrong one wastes time or makes the photo worse. This guide starts with a diagnosis, then covers the fixes, the order to apply them in, and the point at which a reshoot is the better answer.
Diagnose the photo first
| What you see | What is wrong | Fix |
|---|---|---|
| Sharp at small size, blurry when zoomed | Too few pixels | Upscale |
| Soft even at small size | Out of focus or camera shake | Unblur, then upscale if needed |
| Blocky edges, smudged color | Heavy compression | Ask for the original file; upscaling cannot remove it |
| Only a front view | Missing angles | Create the missing views, then check them |
| A sticker, stain or wrong color | A detail problem | Edit the detail |
Why resolution matters on a product page
Shoppers zoom to see stitching, texture and finish, and many platforms only offer zoom above a minimum size. Amazon enables zoom on images that are at least 1,000 pixels on the longest side. Shopify recommends 2,048 × 2,048 pixels for square product images. A small supplier photo either cannot be zoomed or becomes a blur when it is.
Upscaling: what it can and cannot do
Enlarging an image in any ordinary editor stretches the existing pixels, so the result looks soft. AI upscaling works differently: it rebuilds finer detail as it enlarges, so edges, textures and small text come out sharper than a plain resize.
It still has limits:
- It works best on photos that are sharp but small. A blurred, noisy or heavily compressed photo carries those flaws into the larger version.
- Very small images give it little to work with. A photo that is only a few hundred pixels across is usually worth reshooting or requesting again.
- Text on packaging is the hardest part. Check it at full size, because a slightly wrong letter on a label is worse than a slightly soft one.
Unblur: rescuing soft shots
A slightly out-of-focus or shaken shot does not always need a reshoot. Unblurring recovers sharpness in the product so it looks crisp at normal viewing size. It is meant for mild softness. A photo that is badly blurred has lost the detail that would need to be recovered, and a new photo is the honest fix.
Missing angles: what can and cannot be inferred
A listing with a single front view leaves shoppers guessing about the back, the sides and the depth. Creating the missing views from one photo fills the gallery without a new shoot: the back, the left and right profiles, three-quarter views or a top-down view.
The limit is logic, not technology. Anything the front photo does not show has to be inferred. For a plain, symmetrical product that inference is usually right. For details a buyer cares about, such as a label on the back, a zip, ports or a closure, photograph the real side, and always compare generated views with the real product before publishing them.
Fixing details
Some problems are small but visible: a price sticker nobody noticed, a scuff, a color variant you never photographed. These can be fixed by describing the change in plain words, the way you would brief a retoucher: "remove the price sticker", "make the strap black". A color change must match the variant the customer receives, so check it against the real product.
The order of fixes
When a photo has several problems, the order matters, because each step works best on a clean input:
- Edit details, such as removing a sticker.
- Unblur, if the photo is soft.
- Upscale to the size your store needs.
- Create missing angles from the improved photo.
- Remove the background, position and resize for each channel.
Sharpening before enlarging avoids enlarging the blur. Cleaning up before cutting out gives the background removal a cleaner edge.
When to reshoot instead
- The photo is badly blurred or heavily compressed.
- The image is only a few hundred pixels across.
- The product's important details are on a side you do not have.
- The color in the photo is clearly wrong and you do not know the right one.
Checking the results
Open every improved photo at full size before it goes live. Look at the edges of the product, any text or logos, and the areas with fine texture. Compare generated angles side by side with the original. Keep the ones that are faithful; redo or drop the others.
Fixing a catalog with Shoupapp
Shoupapp's AI photo enhancer puts each fix on one page, as a single choice on a photo already in your library:
- Upscale to 2K, about 2,048 pixels on the long edge.
- Unblur soft or shaken shots.
- New angles: tick as many as you need (back, left and right profile, three-quarter left and right, top-down), each returned as its own image at the ratio your listing uses.
- Edit with a sentence for one-off fixes.
Every result is saved as a new file next to the original, which stays untouched. These fixes can also run in an automation, so supplier photos are upscaled or given extra angles the moment they arrive. Once a photo is ready, the listing's description can be written from it in the tone, length and channel format you choose.
A supplier photo intake checklist
Most low-resolution problems start when photos arrive. A short checklist for every new supplier batch saves fixes later:
- Ask for the original files, not images saved from a website or a PDF.
- Check the pixel size against your store's zoom threshold before accepting the batch.
- Look for compression: blocky areas in smooth gradients and halos around edges.
- Check the angles: is there a back view, a side view, a detail shot?
- Check the color against a sample, if you have one.
Sort the batch into three groups: ready to use, fixable, and reshoot or re-request. Fix only the middle group.
Fixing a whole catalog, not one photo
When hundreds of listings need the same repair, work by problem rather than by product. Export a list of every image below your zoom threshold and upscale them together. Collect every listing with a single front view and create the missing angles for those. Running one fix across many photos is faster to check, because every result should look the same kind of better.
Photo repair questions
Can upscaling fix a blurry photo?
Not on its own. Unblur first, then upscale.
Is my original photo changed?
No. Every result is saved as a new file.
Which photos should I fix first?
The ones on your highest-traffic listings that are too small to zoom. That is where a sharper photo is seen most.
After the photo is fixed, the next step is usually a clean background. See how to remove the background from multiple images.