 Shoupapp
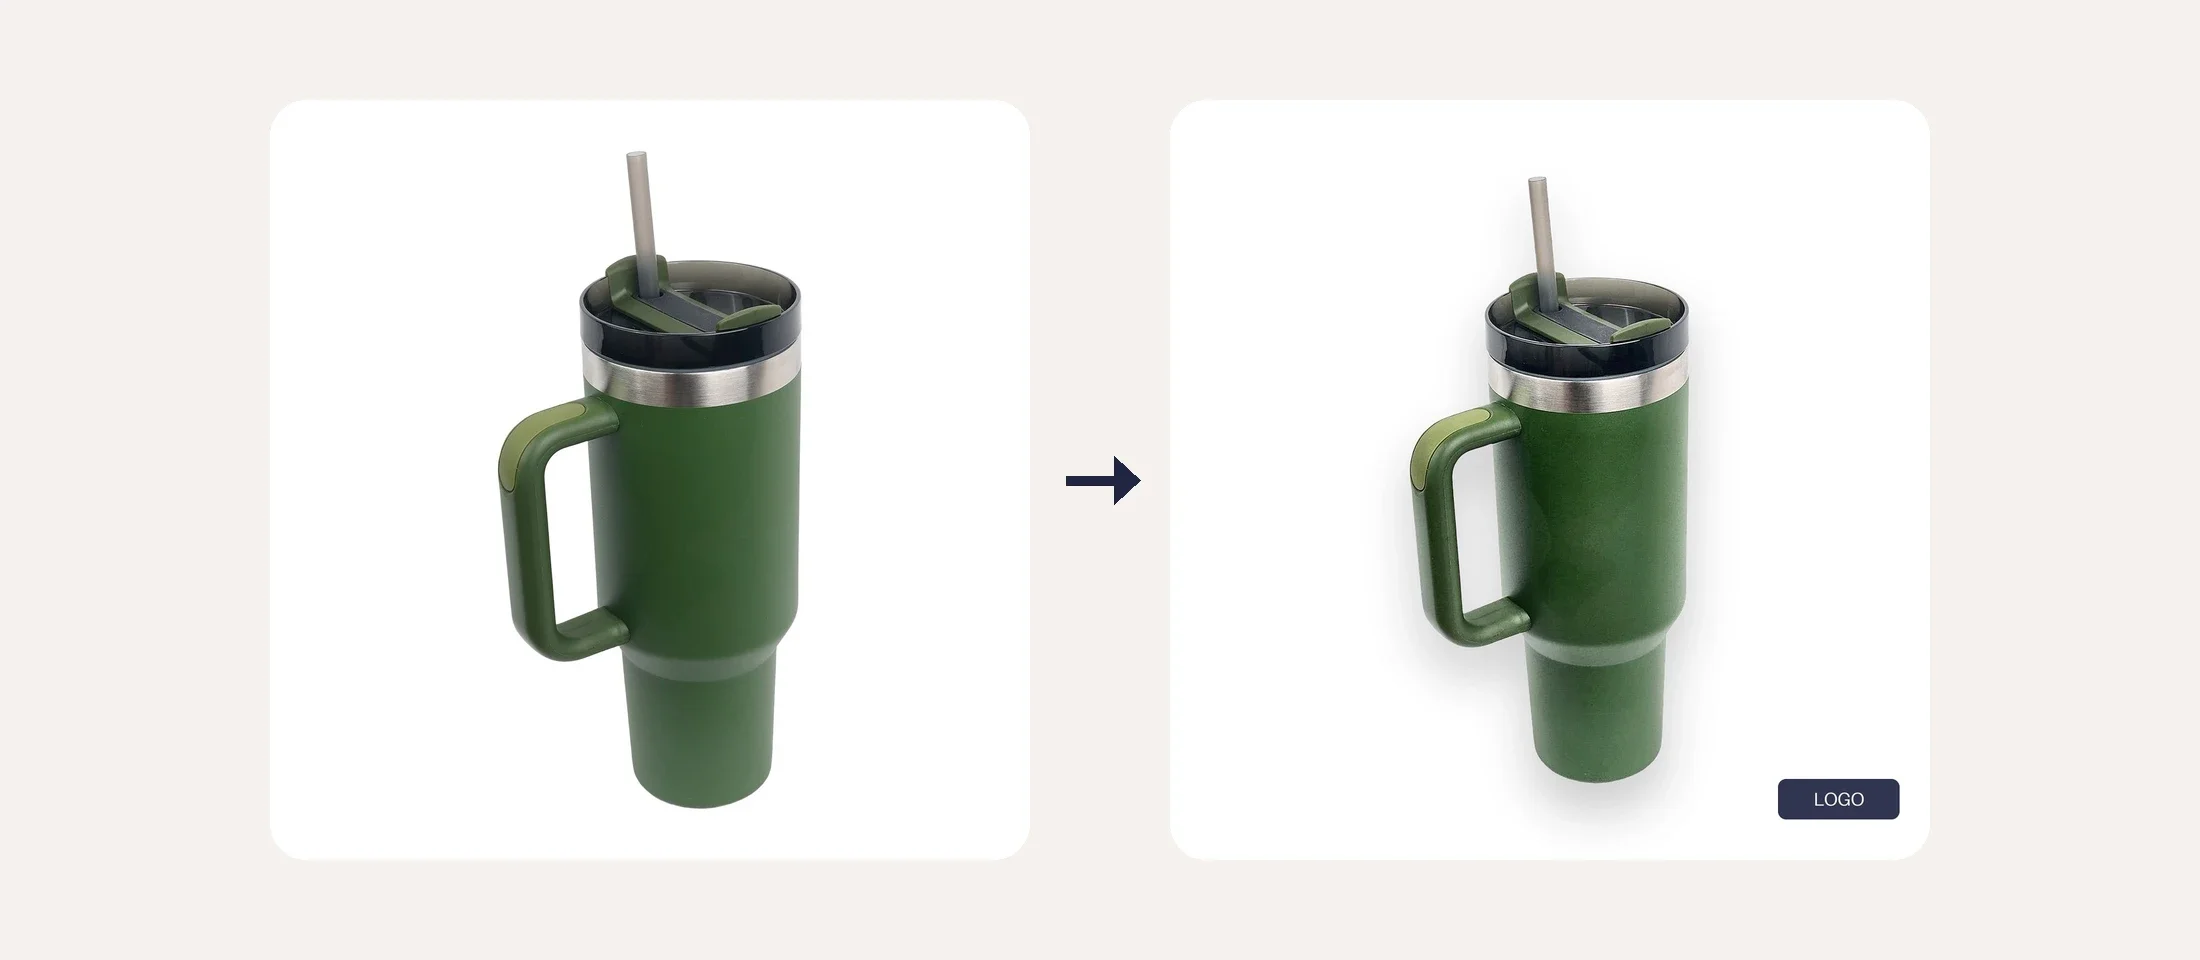
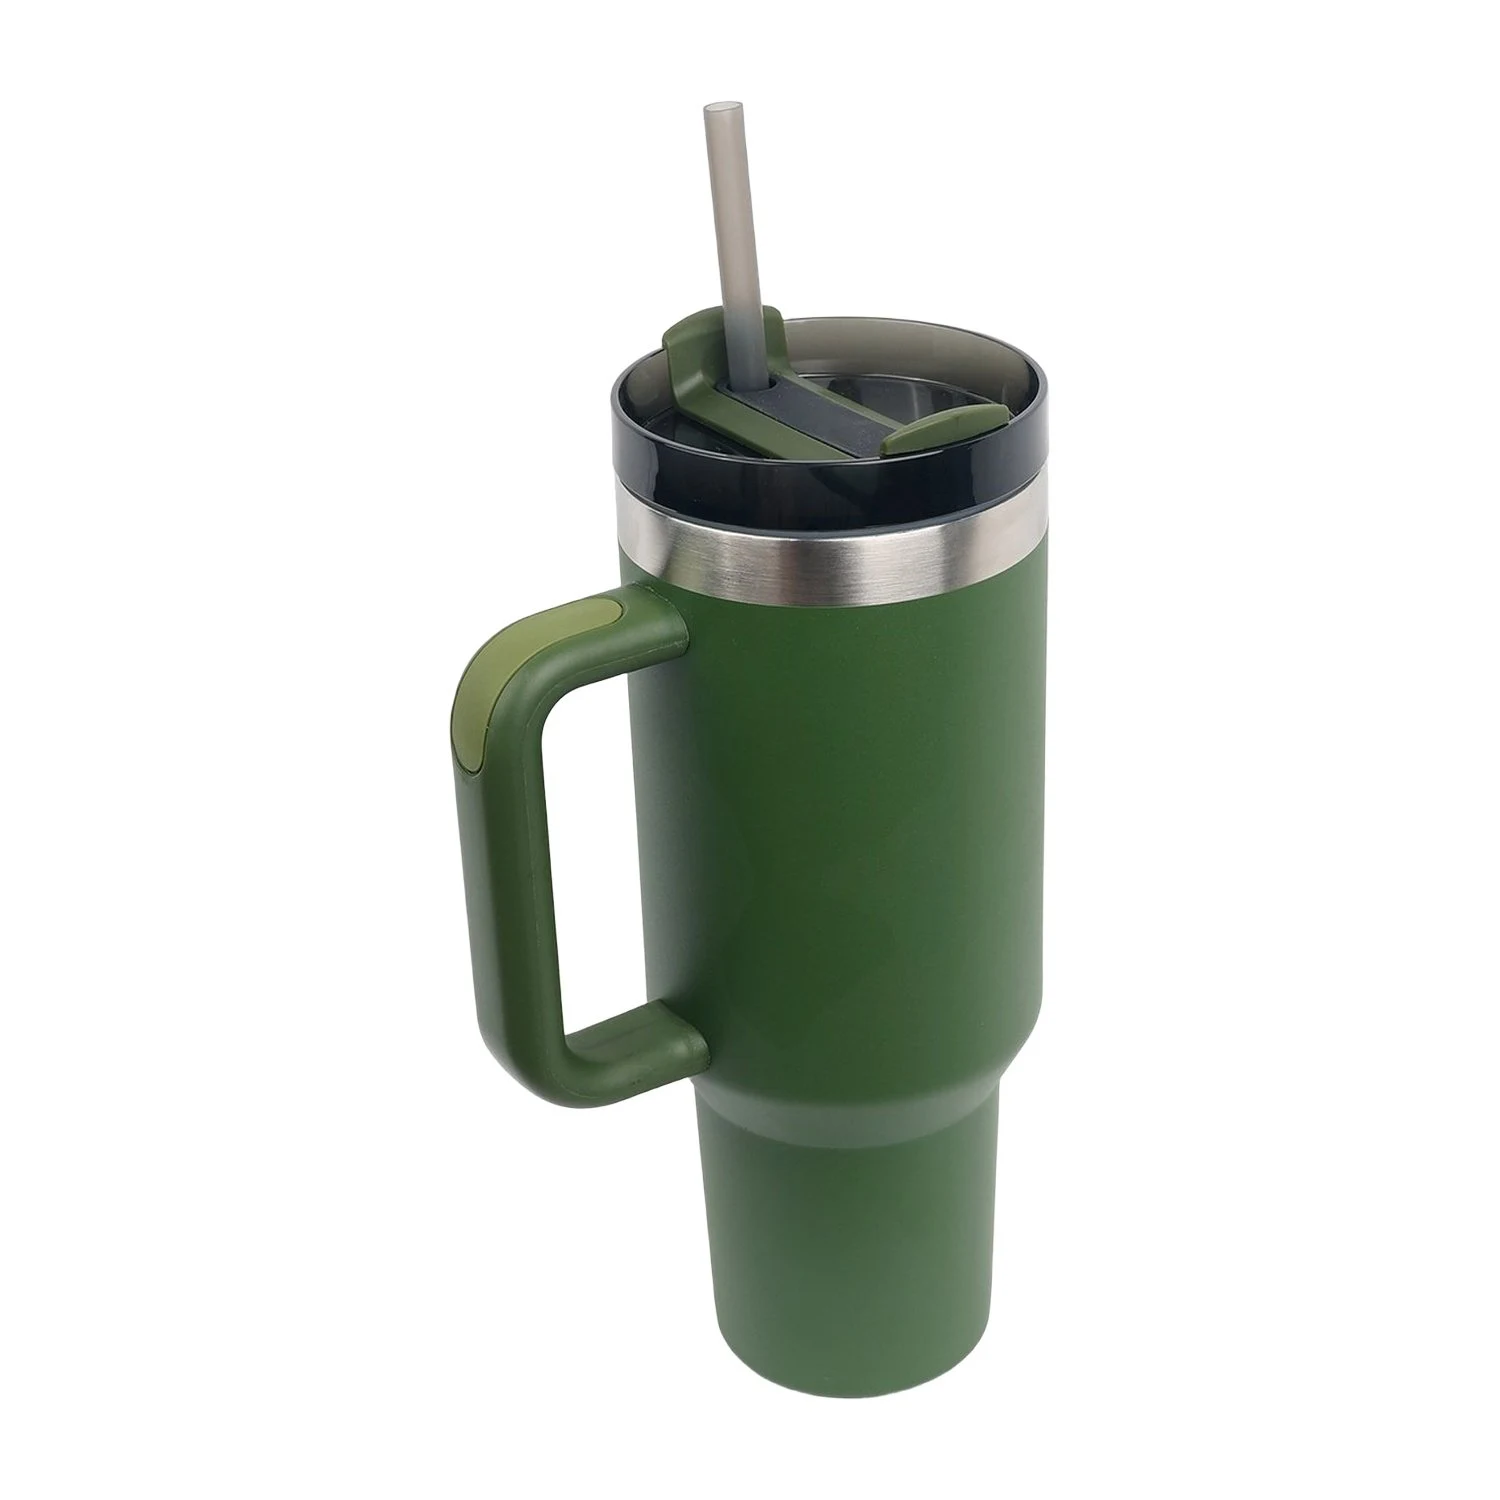
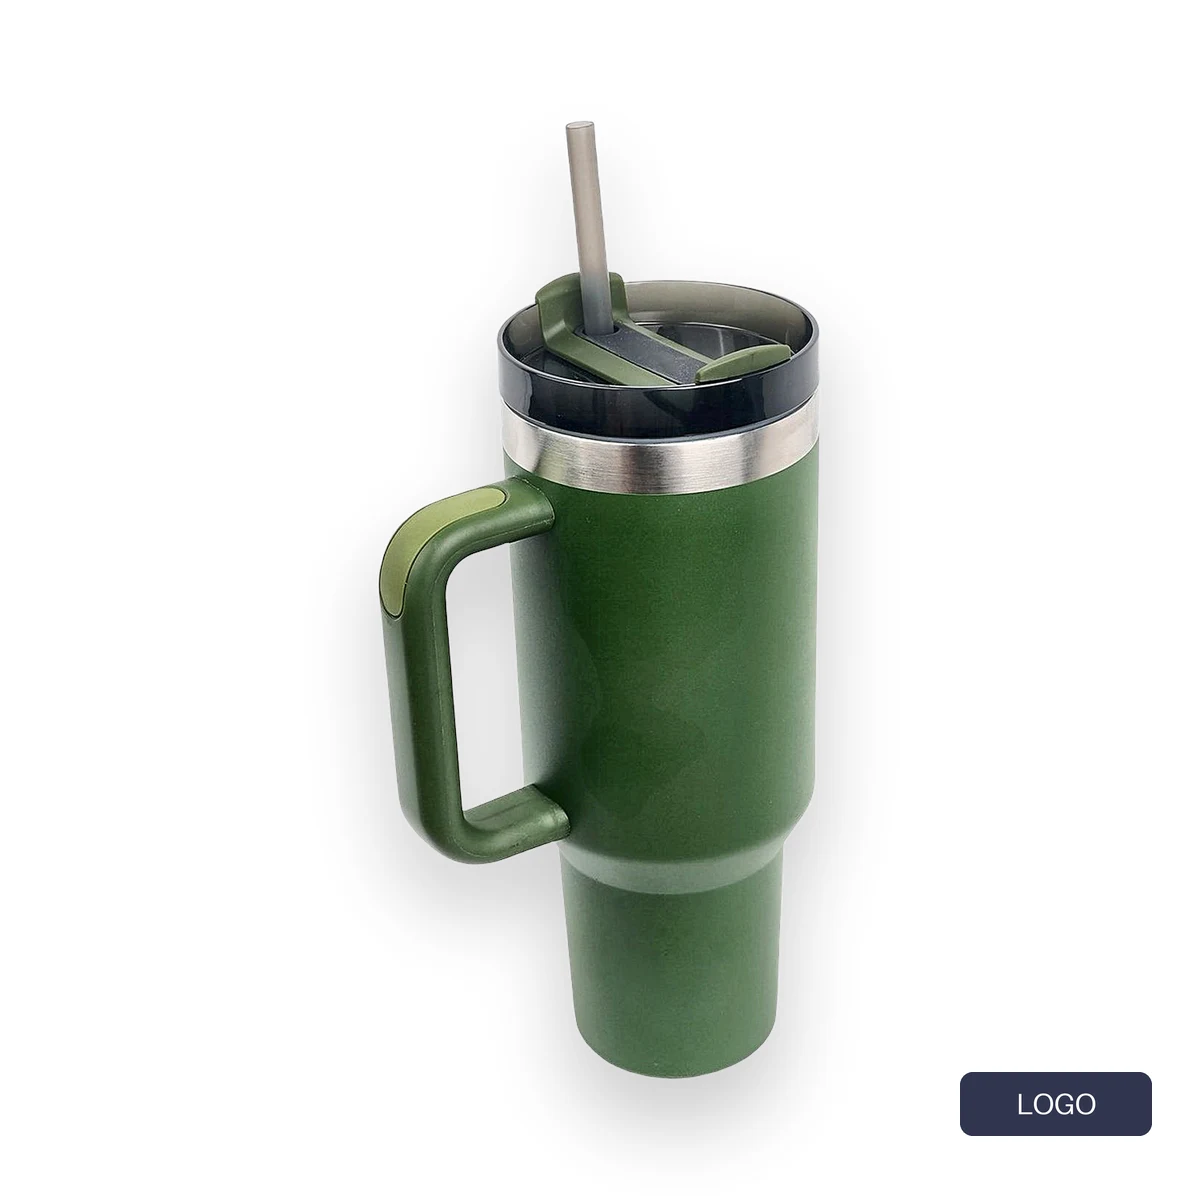
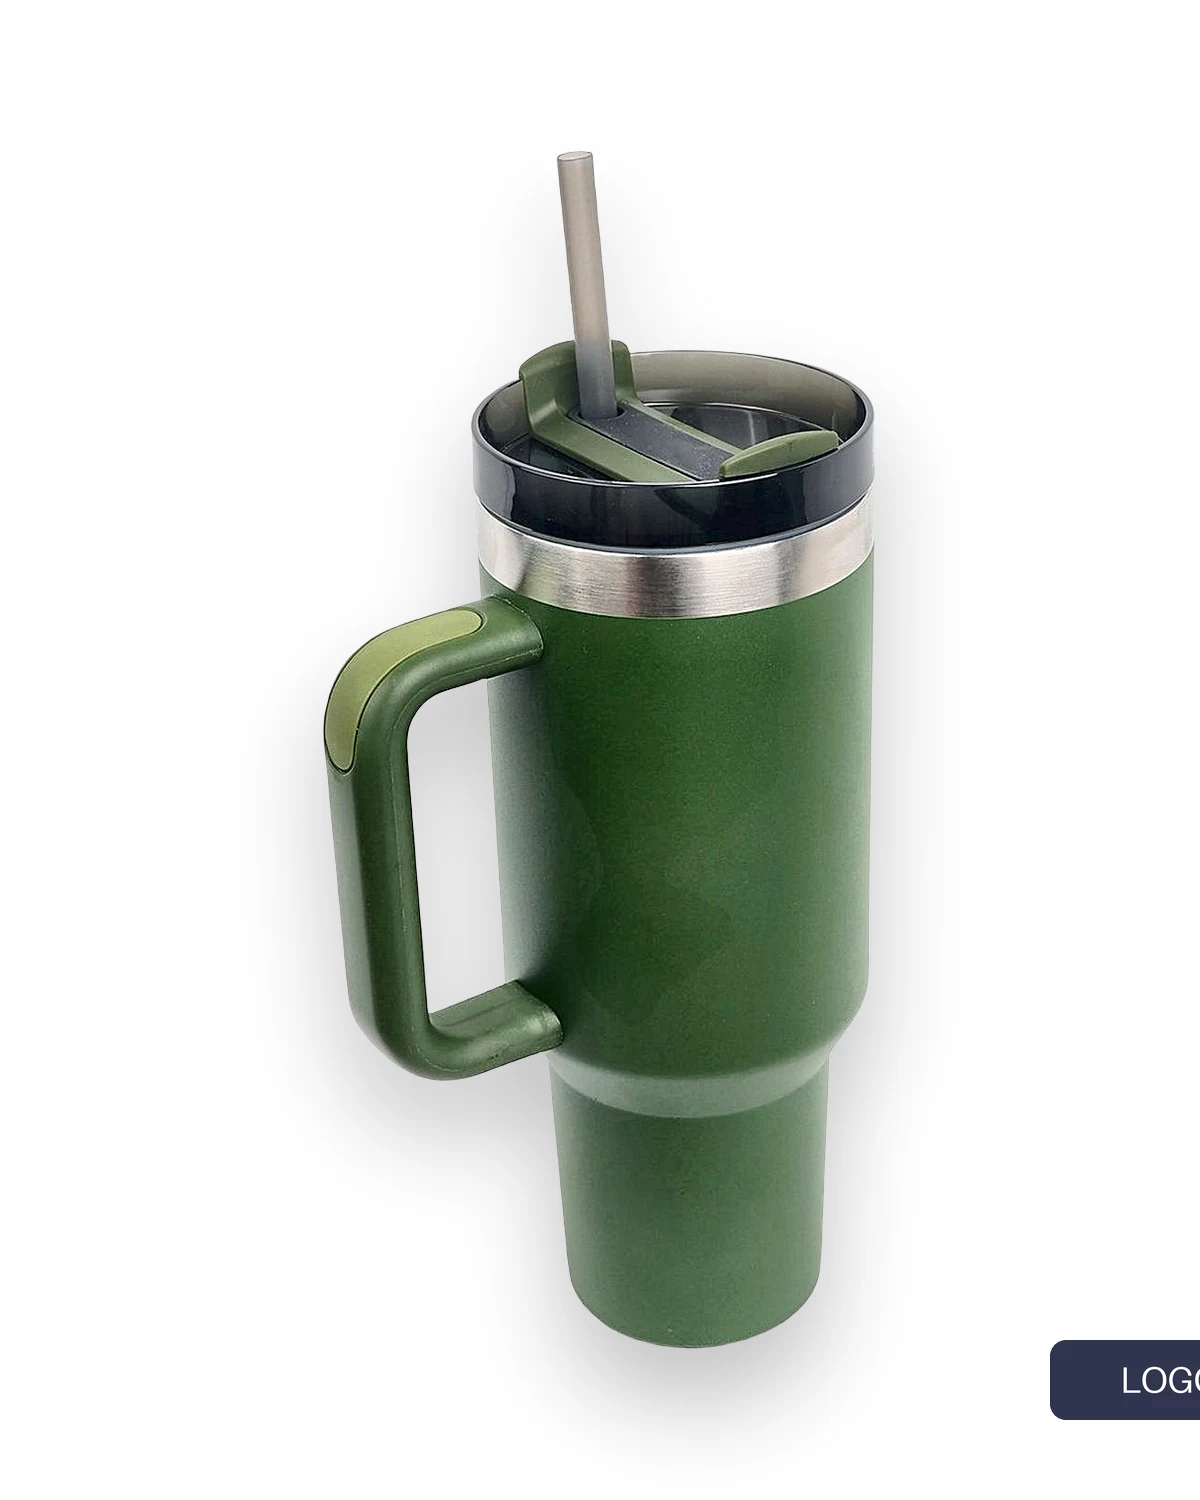
When you batch edit product photos, one run can do several things to every image: correct the color, remove the background, place the product, add a shadow, resize it and stamp a logo. Each step works on the result of the step before it, so the order changes the final picture. Ticking the right boxes is only half the job. This article walks through the order, step by step, with real outputs from one tumbler photo and two tests of what goes wrong when the order is different.
You do not have to remember the order yourself. When several edits are selected in one request, they always run in the same sequence, whatever order you ticked them in. Knowing why helps you choose the right settings.
The order at a glance
| Step | What it does | Why it sits here |
|---|---|---|
| 1. Enhancement | Corrects light, contrast and color | It belongs on the original photograph, before anything is cut out |
| 2. Background removal | Cuts the product out and places it on the canvas with margins | Everything after it works on the isolated product |
| 3. Shadow | Adds a shadow from the product's outline | The outline is cleanest straight after the cut-out |
| 4. Crop and padding | Tightens or widens the frame | Geometry comes after the product and its shadow are final |
| 5. Resize | Sets the final width and height | The output size is applied once, at the end of the geometry |
| 6. Logo | Stamps your logo on the finished image | Its position only makes sense on the final canvas |
Why enhancement runs first, not last
Photo editors usually sharpen at the very end. In a batch that removes backgrounds, that is the wrong place. After the cut-out, the product sits on a large, flat white canvas. A contrast step run over that canvas has very little to work with except the soft edge of the shadow and the faint noise in the white, and it exaggerates both.
We tested it on the tumbler. Running the strongest enhancement on the finished white image changed about one in six background pixels by a visible amount and left a grey halo around the product. Running it on the original photo, before the cut-out, left the background clean.

The AI product photo enhancer therefore always works on the photo as it arrived. The only cost is that sharpening done early is slightly softened if the image is later made smaller, which is far less visible than a stained background.
Background removal also places the product
The bulk background remover does more than delete the background. It positions the product on a canvas of the size you set, with consistent margins, so every product in the batch sits in the same place. That is why the output size is required when background removal is selected: it is the area the product is placed on, not only the file dimensions.

If your supplier photos already have a shadow, it goes with the background. For the full picture on this step alone, see how to remove background from multiple images.
Shadow straight after the cut-out
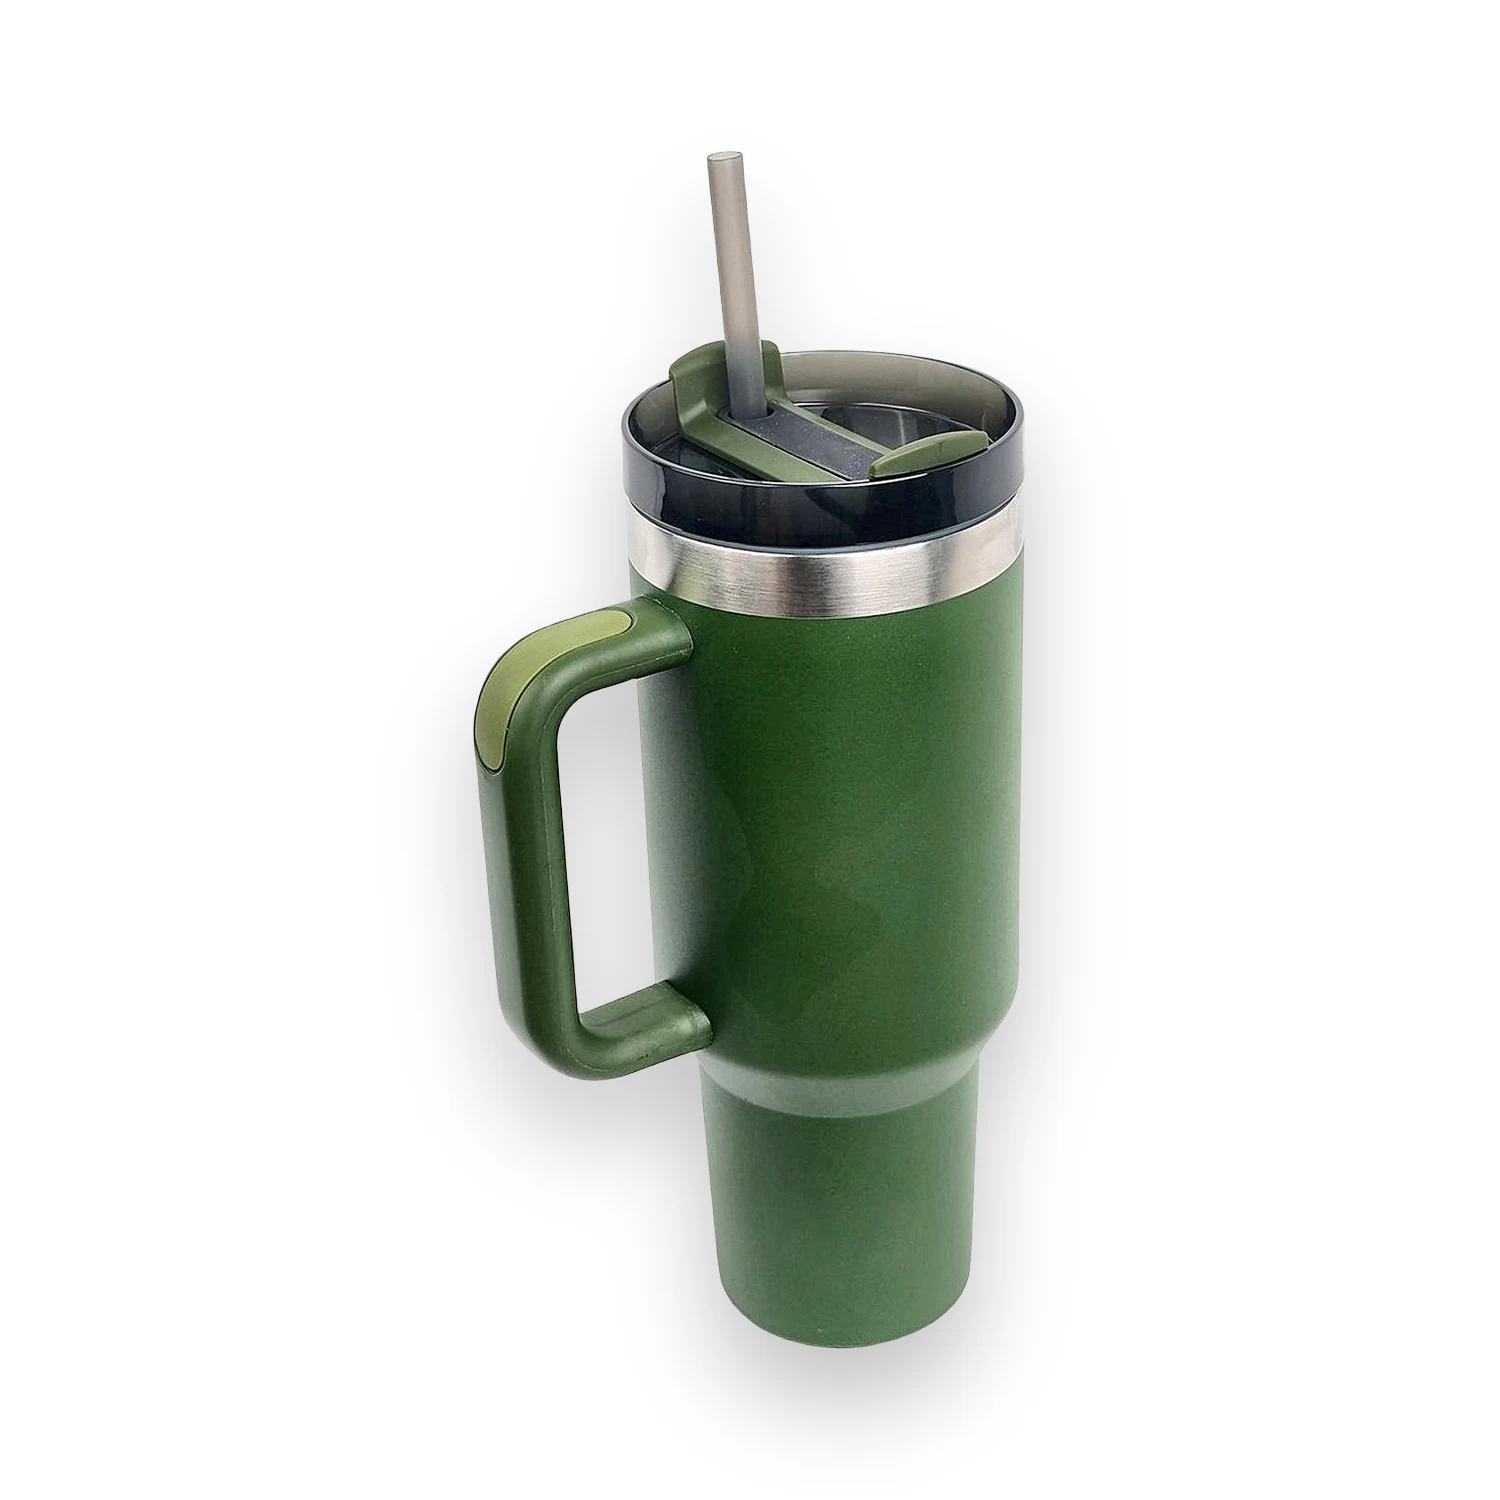
A product shadow generator builds the shadow from the product's outline. Straight after the cut-out, that outline is as clean as it will ever be. The shadow's size follows the height of the product, and because it is added before any crop or resize, it is scaled together with the product and always stays in proportion.
If you add a shadow without removing the background, the original background is kept and the shadow is cast around the product instead. That is useful for lifestyle photos, not for a white catalog.
Resize: fit, crop or stretch
Resize is where most batch mistakes happen, because the three modes behave very differently:
- Fit keeps the whole product and fills the leftover space with your background color.
- Crop fills the whole frame and cuts off whatever does not fit.
- Stretch forces the image to the new size and distorts the product. It is rarely what you want for products.
We resized the same tumbler to a wide 16:9 banner with crop and with fit. Crop cut off the lid and the base. Fit kept the whole product.


Use crop only when the product photo already has roughly the shape of the target. For wide banners and story formats, use fit, or build the layout with the AI product banner maker.
Logo always last
The logo position is set as a percentage of the finished image, for example 88 percent across and 92 percent down, and its size as a share of the width. Those numbers only mean something on the final canvas. If the logo were stamped first and the image cropped afterwards, the corner it sat in could be cut away.
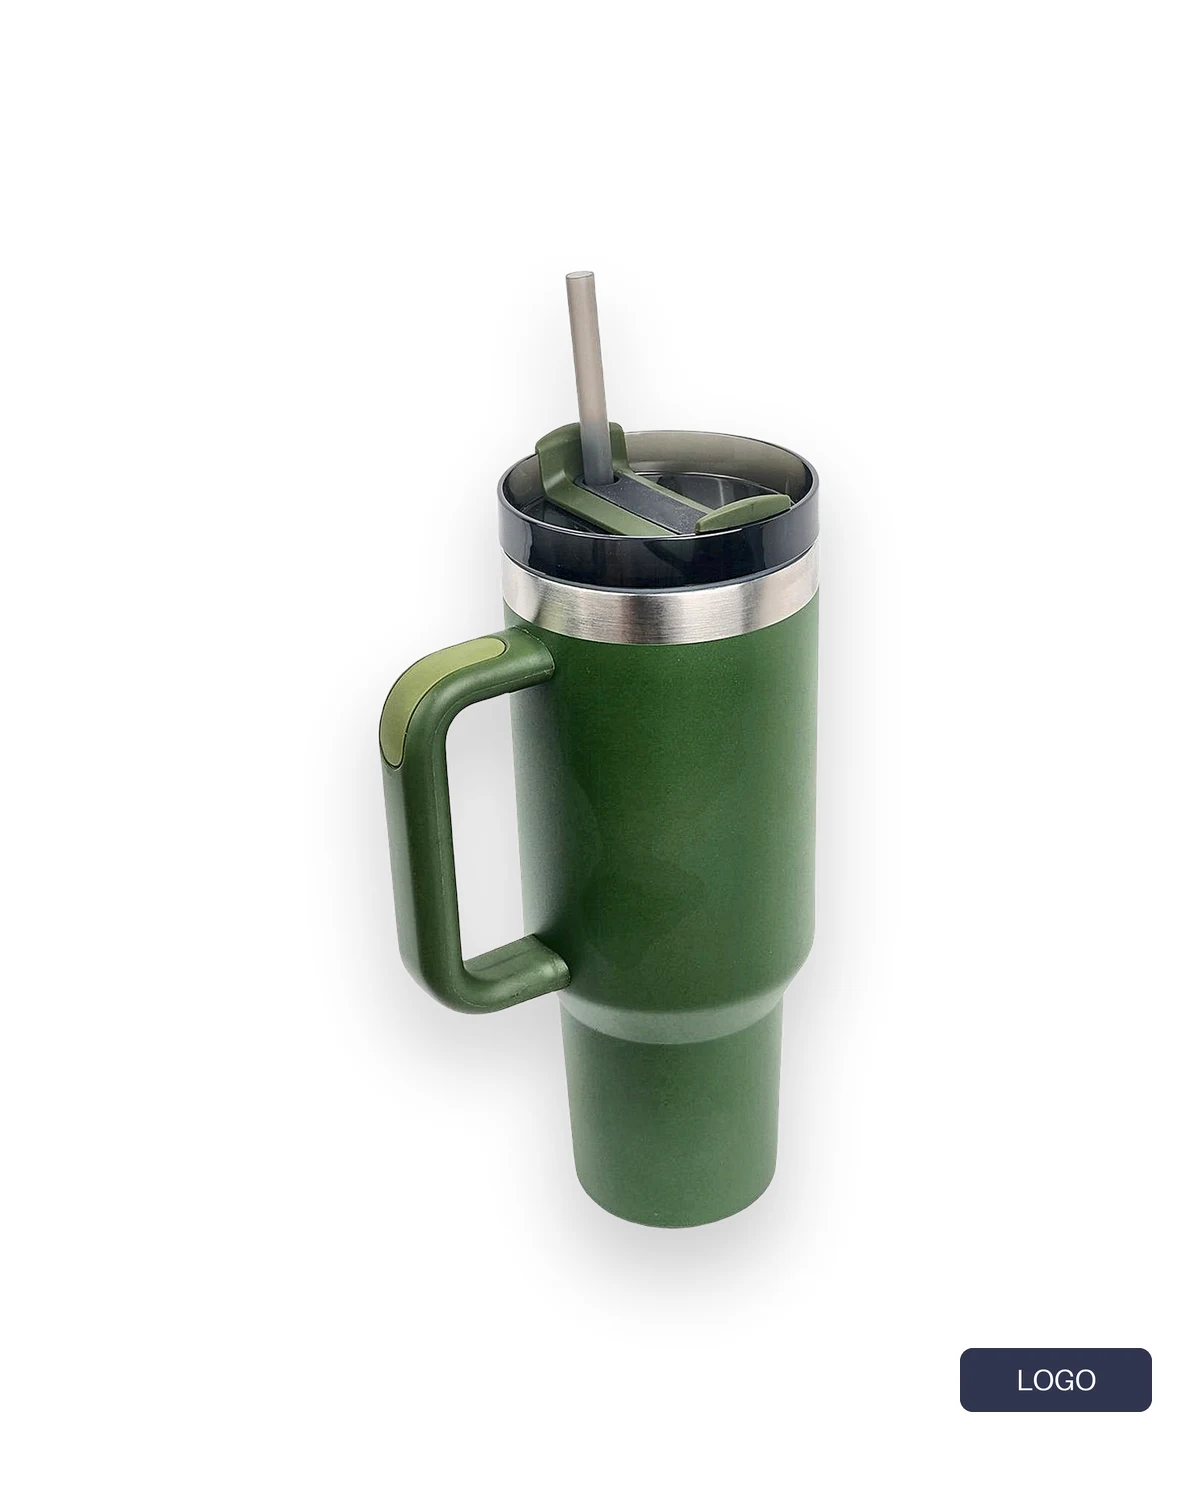
If you export several sizes from the same photo, run them as separate batches so the logo is placed fresh on each one.
Settings that travel with the batch
- Output format. PNG keeps the transparent background. JPG and WebP are filled with the background color you choose.
- Background color. It is used for the fill in fit mode, for padding and for JPG and WebP output, so set it once and every step agrees.
- Maximum file size. Set it to what your store or marketplace accepts, so you never have to compress the files again afterwards.
Before you run a thousand photos
- Run five to ten photos that cover your hardest cases: dark products, thin parts, tall and wide shapes.
- Check the edges after the cut-out, the shadow on the darkest product and the logo corner on every output size.
- Check the file size of the largest result.
- Then run the full batch, or save the same steps as a rule in bulk image processing so new uploads go through them on their own.
Originals are never overwritten, so a batch with the wrong settings is a new run, not a lost photo. For rules that run on upload or on a schedule, read how to automate product photo editing. Costs are on the pricing page and every tool is on the products page. The best test is your own photos: see it on your catalog.
Batch editing questions
Does the order I tick the boxes in matter?
No. Selected steps always run in the same order: enhancement, background removal, shadow, crop and padding, resize, then logo.
Can I add a logo without changing anything else?
Yes. Each step is optional. A batch with only the logo selected stamps it on the photos as they are.
Why is the output size required when I remove the background?
Because it is the canvas the product is placed on with margins. Without it, there is nothing to position the product against.